

Beginner fishing rigs: understand the layout before the names
Rig names vary locally. Learn where the sinker and hook sit before memorising names: that makes a diagram useful even when another angler uses different terminology.
Start with one setup you can assemble and inspect at home, then learn another when a specific presentation problem calls for it.
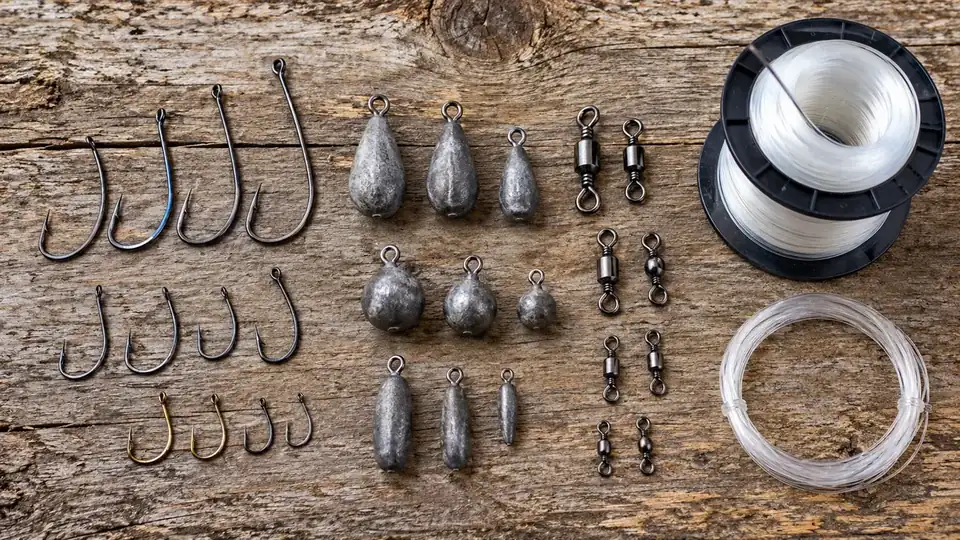
Know the components
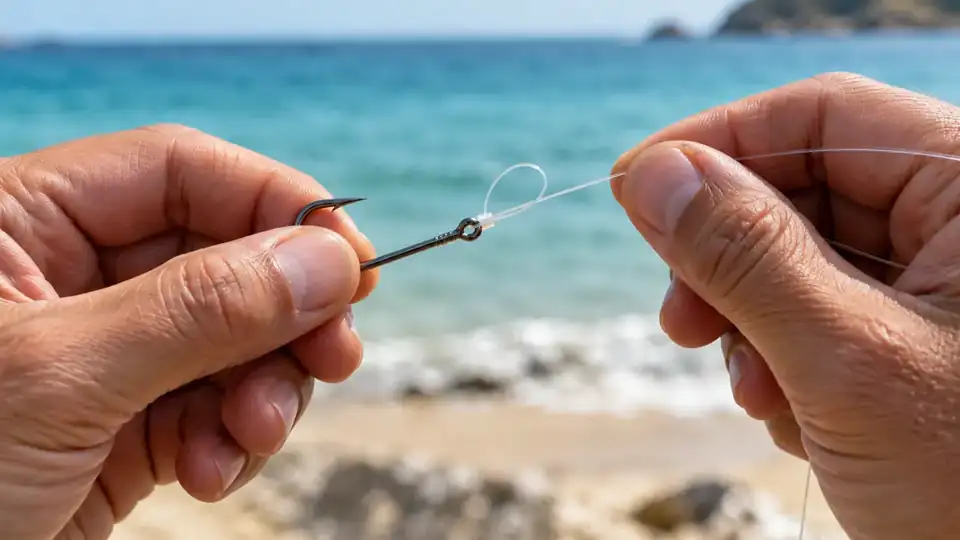
Identify the main line, leader and any swivel. A swivel and a quick-change clip do different jobs, and not every rig needs both. Match all components to the setup and rod rating. Replace damaged sections and test knots gradually with hooks kept away from hands and face.
Sinker at the end, hook above
A hook branch above the terminal sinker presents bait above its resting point. This can suit some bottom-fishing situations but does not prevent snags. Start with one branch. If it wraps, review length, attachment and bait size before adding more branches. Local names may vary.
Running sinker, trailing leader
Line movement through a sinker does not remove all resistance: weight, friction and pull direction still matter. Choose a manageable leader length rather than assuming longer is always better. Inspect the returned rig and adjust deliberately.
Floats and jigs serve different purposes
A float controls presentation depth and requires drift observation. A jig is a lure you actively work, rather than another natural-bait bottom rig. Learn these methods separately so that you can diagnose their results.
Test before changing everything
Practise casting without an exposed hook in an appropriate space, or have an experienced angler review the setup. Inspect alignment and weight compatibility after a controlled drop. If the rig returns correctly, investigate place, bait and depth before rebuilding every knot.